Weather, Trim, Stile, and Specialist Installation for Special Doors
Decide whether a special-door mismatch needs a documented accessory, a manufacturer adjustment path, or a qualified installer.
Jump to a section
A spacer or adapter can solve a documented mounting difference. It cannot make a lock perform a missing handle action, move an unsupported bolt, or certify that a glass or metal assembly is suitable. Name the constraint first, then follow the instructions for the exact door and lock.
Identify what is preventing fit or operation
Record the door’s Product ID or model, panel roles, handing, lock mechanism, and the smart-lock variant. Measure only the dimensions called for by that lock’s current installation guide. Depending on the product, those may include door thickness, backset, bore preparation, lock-body clearance, frame gap, or the space around existing trim and handles.
| Observed condition | Why it matters | Next step |
|---|---|---|
| Door rubs, binds, or does not latch normally | Alignment or hardware may already prevent reliable locking; adding a motor will not resolve the underlying door issue. | Identify the exact door and use its manufacturer’s adjustment or service guide. |
| Smart-lock housing touches trim, glass, a narrow stile, or a handle | Published mounting dimensions may not include the installed obstruction. | Compare the full installation template with the measured assembly; do not assume a spacer solves a clearance conflict. |
| The smart lock turns a deadbolt but the door also needs hooks, shoot-bolts, a handle lift, or another panel action | The motor may not complete the door’s required sequence. | Confirm the exact guide’s stated operation. Keep the result conditional if a manual step remains. |
| Product lists a thickness, hole pattern, or gap range | The values apply to the named product and door class only. | Measure the exact assembly and confirm flush conditions, model, market, and installation instructions. |
| The door opens to weather or the lock is mounted on an exposed gate | Product-specific environmental limits and installation orientation matter. | Check the exact lock rating and manufacturer instructions; an outer-panel rating is not an approval of the whole assembly. |
| The system controls a shared entrance or requires changing door structure | Access rules, wiring, security, or egress may be affected. | Get the property’s permission where required and use the manufacturer or a qualified door, glass, gate, or electrical specialist. |
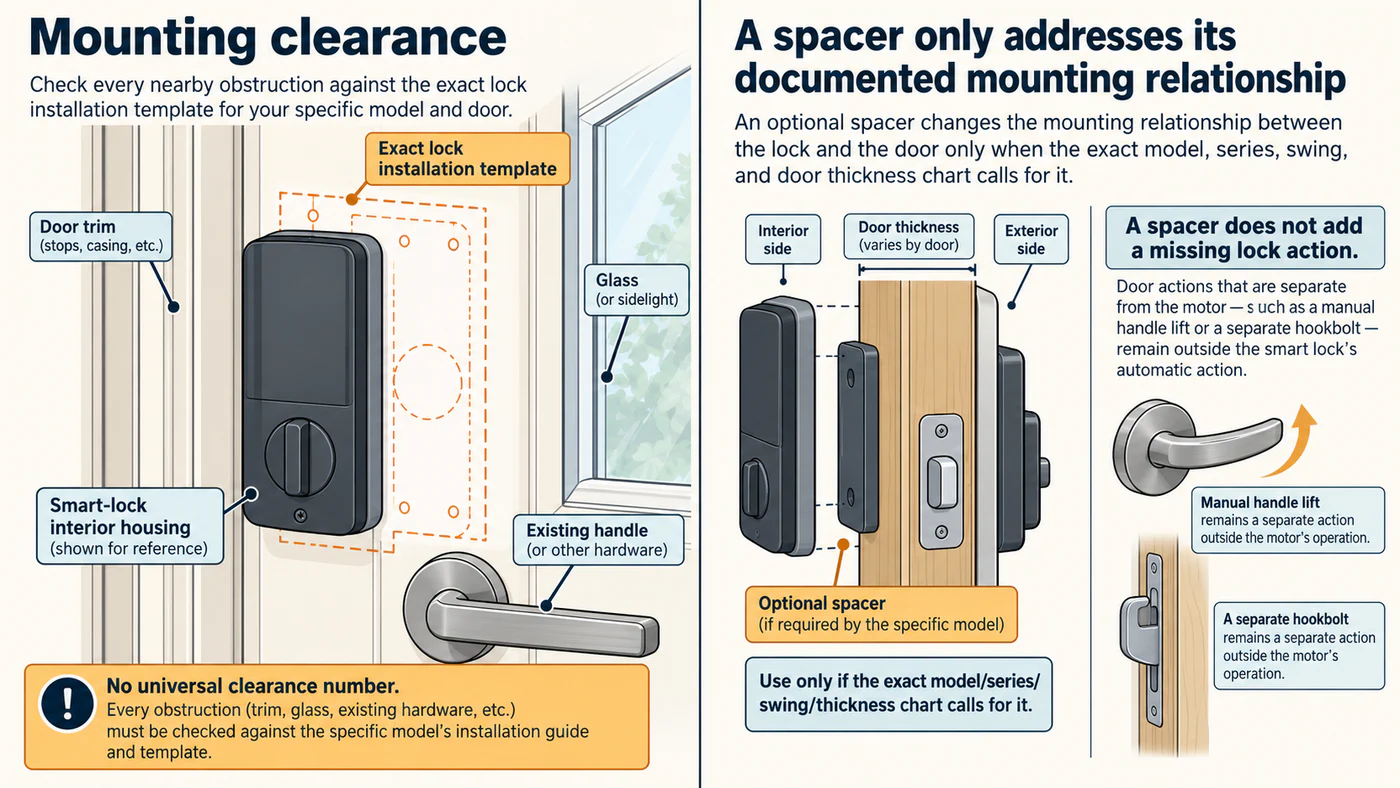
Check every obstruction against the exact installation guide; a spacer does not supply a missing door action.
Use manufacturer adjustments only for the identified door
Andersen says receiver tabs on its hinged patio doors help compress the weatherstrip so the lock can engage and latch properly. The receiver guidance notes that the receiver location and adjustment guide vary by series, door direction, and manufacture period. Andersen’s 200 Series hinge guidance also notes that an uneven panel-to-frame gap can cause operational issues, but it gives no universal clearance number for smart-lock fit.
Resolve a binding or sealing problem through the correct Andersen receiver guidance or 200 Series hinge guidance. Do not improvise a tab or hinge adjustment from a different series. After the documented correction, confirm that the door closes and locks as its manufacturer requires before evaluating the smart lock again.
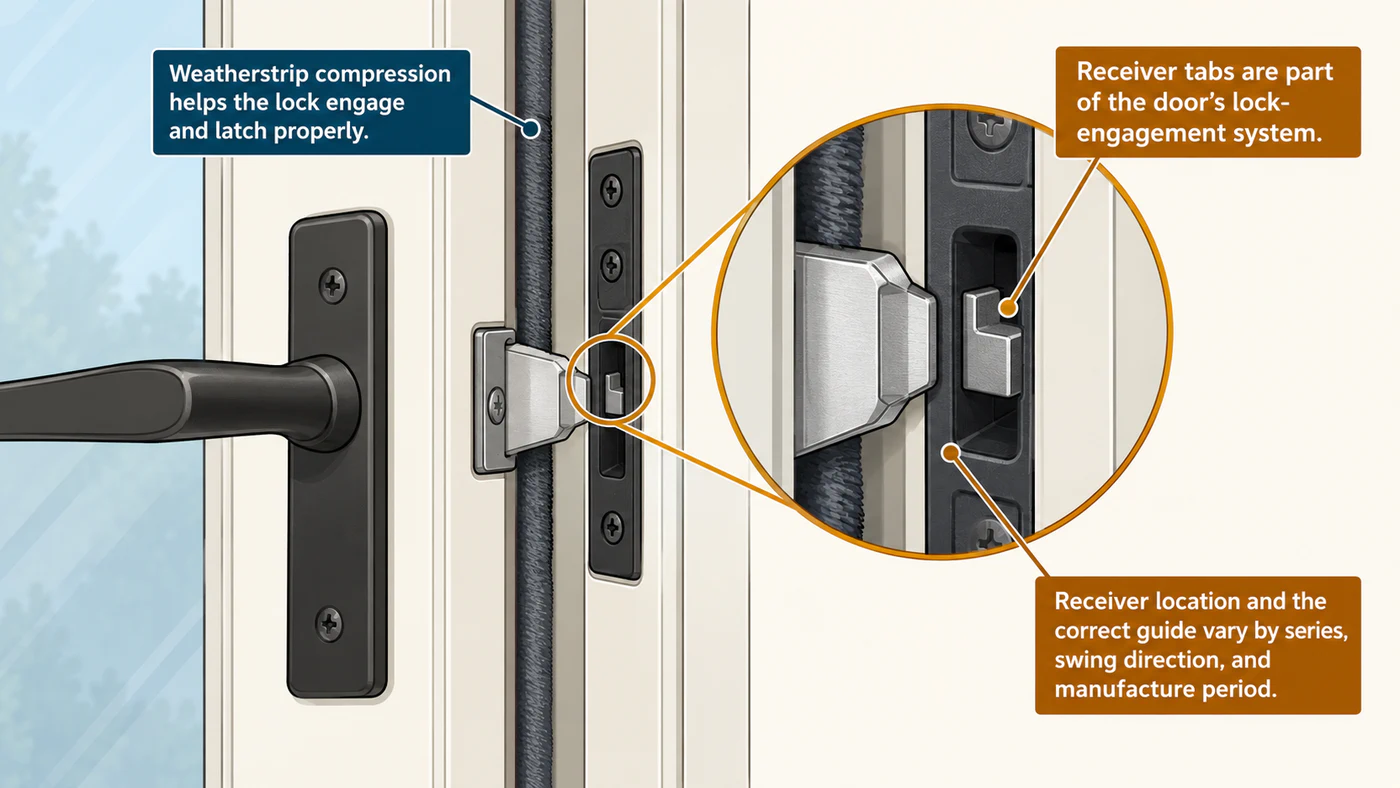
Receiver location and adjustment guidance vary by series, swing direction, and manufacture period.
Andersen’s gliding-door support similarly separates reachout-lock and receiver hardware from handles, with replacement routes by series and manufacture period. A new receiver, roller adjustment, or hardware kit is not evidence that a smart-lock motor can actuate the result. Match the installed configuration to Andersen’s gliding-door support guide.
Match accessories to the product guide
The Yale Assure guide for Andersen doors contains a spacer chart tied to named series, swing direction, and thickness. Use the chart for the exact lock and door; do not transfer a spacer from one family to another. A mounting spacer addresses the guide’s mounting relationship. It does not change what lock points the motor can move.
The same principle applies to dedicated material-specific products. Aqara publishes separate fit conditions for its Smart Glass Door Lock U500 and Smart Gate Lock U500. The glass model specifies a frameless-glass range and requires flush panels; the gate model specifies its hole pattern, thickness, backset, and gap and requires the gate and frame to be flush. See the glass-door fit guide and gate fit guide. These product dimensions are not general thresholds for other glass panels or gates.
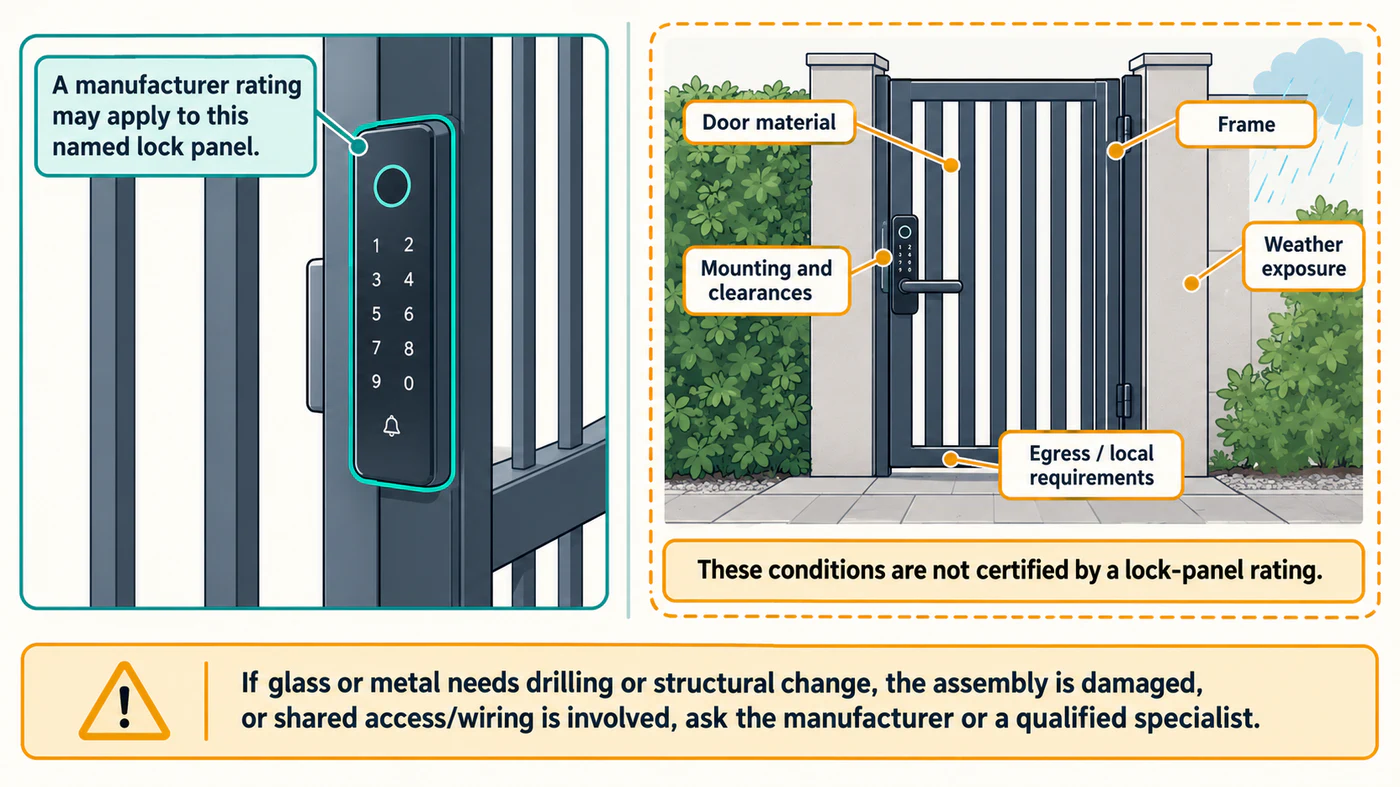
The rating of one lock component does not certify the complete door or gate assembly.
When to ask for specialist help
Ask the door manufacturer, supplier, or qualified installer to resolve the fit before buying when the model cannot be identified, the frame or panel is damaged, the door does not latch freely, glass or metal would need drilling or structural changes, the installed mechanism is multipoint, or the shared access system is not listed by its manufacturer. A product-page dimensions table cannot establish local code compliance, warranty coverage, egress suitability, or safe operation for a particular assembly.
Keep three questions separate in the final decision: whether the lock mounts, whether it performs the full locking sequence, and whether the desired electronic features work in the reader’s market. If any one remains unknown, record a conditional result and the exact information still needed.
Reference material
Sources for this guide
- Assure Lock for Andersen Patio and Entry Doors — Installation and Programming InstructionsPrimary
- Adjust Tabs on Andersen Hinged Inswing and Outswing Patio DoorsPrimary
- Adjust Hinges on Andersen 200 Series Inswing Patio DoorsPrimary
- Replace and Adjust Locking Hardware on Andersen Gliding Patio DoorsPrimary
- Smart Glass Door Lock U500Primary
- Smart Gate Lock U500Primary