Retrofit or Replace a North American Deadbolt?
Choose an inside retrofit, deadbolt replacement, or conversion by checking what stays on the door and which exact interfaces must match.
Jump to a section
A retrofit works with some of the hardware already on the door. A replacement installs a new deadbolt assembly. A conversion changes one part, such as a cylinder or interior mechanism, while retaining other parts. The labels describe different installation paths; none guarantees that a particular lock will fit.
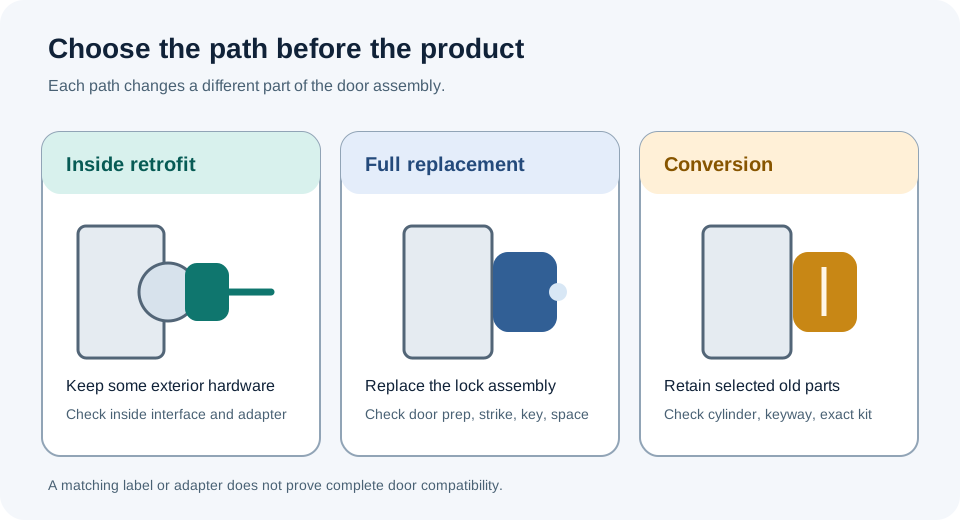
Compare what changes
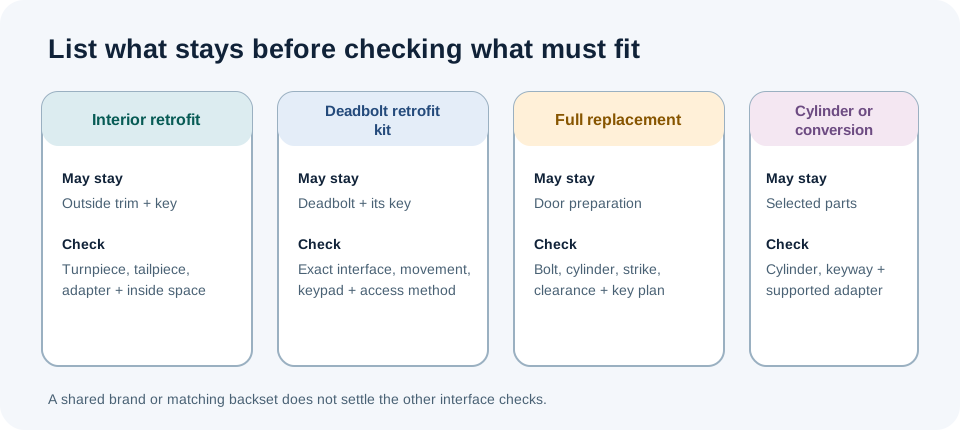
| Path | What may stay | What must be checked |
|---|---|---|
| Interior retrofit actuator | The exterior trim and physical key may stay in place. | Identify the exact deadbolt, inside turnpiece or tailpiece, adapter, mounting surface, and available interior space. Some products still require removal of the inside housing and bolt during installation. |
| Existing-deadbolt retrofit kit | The deadbolt and its keys may remain. TP-Link describes its US Tapo DL210 KIT this way, but its product page does not give the mechanical interface dimensions. | Read the exact installation guide and verify the lock body, movement, keypad position, and required access method. A product-page claim about retaining a deadbolt is not a fit verdict. |
| Full replacement | The door preparation may remain if it matches the new model. | Compare the new bolt, cylinder, door thickness, backset, bores, strike, trim clearance, and key plan with that model’s instructions. |
| Cylinder or hardware conversion | Selected existing parts may remain. | Confirm the exact cylinder, adapter, keyway, door operation, and whether the conversion is supported for the installed model. |
Level Bolt is an example of an inside retrofit that keeps the exterior key path. Its instructions still remove the existing deadbolt housings and bolt, then fit one of the supplied adapters to the tailpiece. SwitchBot directs buyers to a model and dimension check and requires a suitable interior surface. Bosma’s Aegis guide limits that product to a single-cylinder deadbolt and lists several excluded mechanisms. These are product-specific paths; do not transfer one maker’s approval to another.
Decide before buying
- Record the existing deadbolt’s brand, model, cylinder arrangement, and visible inside mechanism.
- Decide whether the outside key and trim must stay. Check rekeying separately if a replacement is acceptable.
- Select the exact smart-lock model and market, then use that maker’s current compatibility list and installation instructions.
- Measure the door and compare every stated interface condition. An adapter or a matching backset answers only that one check.
- If the model or mechanism is unclear, ask the maker or a qualified installer before ordering. Renters should also confirm permission before changing door hardware.
For the measurement sequence, see how to check deadbolt door preparation. For a manufacturer list, see how to check a tested deadbolt list.
Reference material
Sources for this guide
- Level Bolt retrofit smart lockPrimary
- Checking SwitchBot Lock compatibilityPrimary
- Aegis Installation InstructionPrimary
- Tapo DL210 KITPrimary